Master Your Listings with an Editable Photography Checklist Template
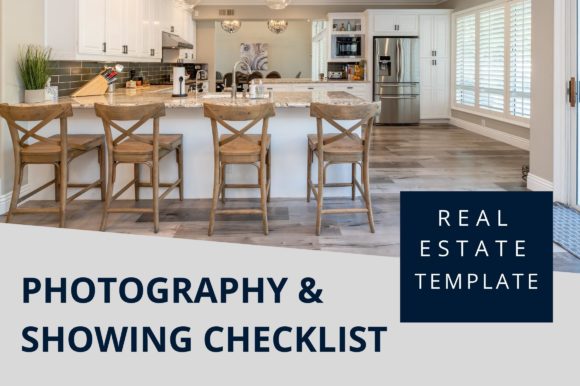
There is a specific kind of anxiety that hits right before a real estate listing goes live. You have staged the home, negotiated the price, and scheduled the open house, but the photos—the very first thing potential buyers see—feel slightly off. Maybe the lighting in the kitchen looks dim, or you forgot to capture the view from the master balcony. In the high-stakes world of real estate, missing a single shot can mean fewer showings and a longer time on the market. This is where having a structured approach changes everything. Using an Editable Photography Checklist Template isn't just about organization; it is about ensuring consistency, building your brand, and giving yourself the confidence that every angle has been covered.
For many agents, the photography process is chaotic. You rush from property to property, relying on memory or scribbled notes on your phone. But memory is fallible, especially when you are managing multiple listings simultaneously. A dedicated checklist transforms this chaos into a streamlined workflow. It acts as your silent partner on-site, reminding you to check the curb appeal, verify the staging details, and ensure the wide-angle shots capture the true flow of the room. When you utilize a template designed specifically for real estate marketing, you are not just taking pictures; you are curating a visual narrative that sells a lifestyle.
Why Customization Matters for Your Brand
One size rarely fits all in real estate. A luxury waterfront condo requires a different visual strategy than a cozy suburban family home. This is why the ability to edit your tools is crucial. An Editable Photography Checklist Template allows you to tailor the document to fit the specific needs of each property type and your unique branding guidelines. Unlike static PDFs that force you to work within rigid lines, editable templates give you the freedom to adjust fonts, colors, and elements to match your agency's aesthetic.
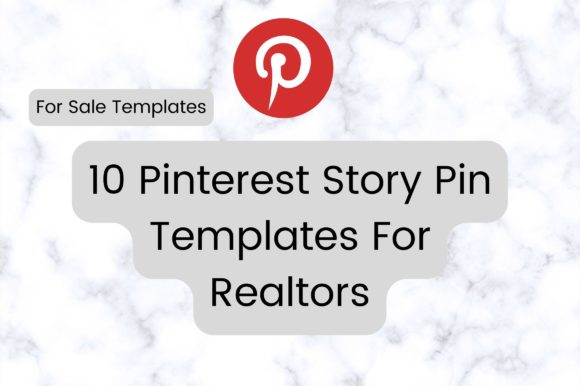
Imagine walking into a listing presentation with a checklist that bears your logo, uses your brand colors, and includes specific sections relevant to that client's property features. It signals professionalism before you even snap the first photo. With tools like Canva, you can resize the template to any dimension, change the background color to suit your mood or season, and swap out generic icons for ones that resonate with your local market. This level of customization helps you stand out in a crowded feed, making your Instagram page look modern and cohesive rather than disjointed.
Real-World Scenarios Where This Tool Shines
Consider the scenario of a busy weekend where you have three back-to-back photo shoots. The first is a vacant lot, the second is a fully furnished model home, and the third is a fixer-upper. Each requires a different focus. For the vacant lot, your checklist might emphasize landscape orientation and boundary markers. For the model home, the focus shifts to lifestyle vignettes and decor details. The fixer-upper requires honest but flattering angles that highlight potential rather than flaws. By using a pre-built template that you can quickly customize, you save priceless time switching mental gears between properties.
Another common situation involves collaborating with external photographers. Even if you hire a pro, they don't know your business goals like you do. Handing them a customized shooting list ensures they capture the specific selling points you want to highlight, such as the new hardwood floors or the renovated bathroom vanity. It bridges the communication gap and ensures the final deliverables align with your marketing strategy. Furthermore, if you are building a team, this template serves as an excellent training tool for new agents, standardizing the quality of listings across your entire brokerage.
Versatility Across Industries and Purposes
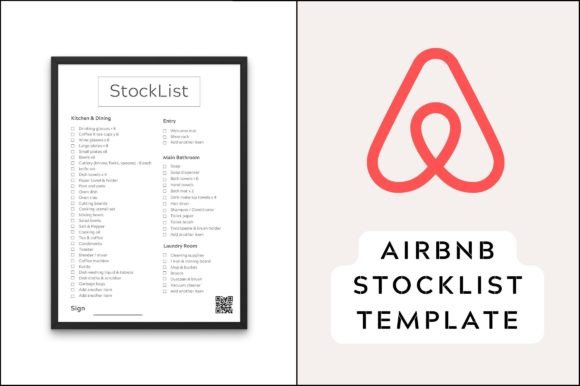
While primarily designed for real estate agents, the utility of an Editable Photography Checklist Template extends to various related fields. Interior designers can use it to document before-and-after transformations for their portfolios. Home stagers can ensure every styled corner is captured for their case studies. Even property managers conducting routine inspections can adapt the checklist to document the condition of units, adding a layer of accountability and visual proof to their reports.
The flexibility of these templates means they evolve with your needs. Perhaps you start focusing more on video tours; you can easily add a section to your checklist for video-specific shots like smooth pans or drone footage. Or maybe you are launching a social media campaign and need vertical shots specifically for Stories and Reels; a quick edit to the template allows you to prioritize those formats without creating a new document from scratch.
Practical Considerations Before You Start
Before diving into customization, it is important to understand what you are working with. Most high-quality templates, like those available for instant download, come with instructions and links to access the editable files in platforms like Canva. It is vital to remember that while the structure, fonts, and layout are editable, the placeholder images are usually not included in the final purchase. You will need to use your own images for the final print or digital version. This is actually a benefit, as it forces you to populate the checklist with actual references from your current listings, making the tool immediately relevant.
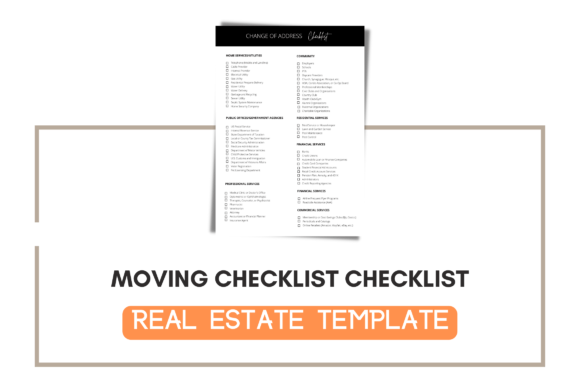
When choosing a template, look for one that offers multiple file formats. Having access to PDF, PNG, SVG, and JPG ensures compatibility whether you are printing a hard copy to take on-site or sharing a digital version with your team via email. The standard 8.5 x 11 inch (A4) size is perfect for printing and clipping onto a clipboard, but the ability to resize means you can also adapt it for tablet screens if you prefer a paperless workflow.
Strengths and Limitations
The primary strength of using an Editable Photography Checklist Template is efficiency. It eliminates the "blank page" syndrome and reduces the cognitive load during high-pressure situations. It ensures that no critical detail is overlooked, which directly correlates to higher quality marketing materials and faster sales. Additionally, the professional appearance of a well-designed checklist enhances your perceived value in the eyes of sellers.
However, there are limitations to keep in mind. A template is only as good as the person using it. If you treat it as a rigid rulebook rather than a flexible guide, you might miss spontaneous opportunities that don't fit the checklist categories. Also, relying too heavily on digital editing tools requires a basic comfort level with software like Canva. While these platforms are user-friendly, there is a slight learning curve if you have never customized a graphic design template before. Yet, the time invested in learning to tweak a font or change a color pays off exponentially when you can reuse the same asset for hundreds of listings.
Ultimately, the goal is to feel confident. When you know you have a system in place, you can focus on connecting with clients and understanding the unique story of each home. An editable checklist is more than a piece of paper; it is a strategic asset that helps you build a recognizable brand, streamline your operations, and deliver consistent results. By saving time on administrative planning, you free up energy to do what you do best: selling homes.